PHYHOO JEWELRY TOOLS
Electric Wax Welder Welding Making Machine
Electric Wax Welder Welding Making Machine
Low stock: 9 left
Couldn't load pickup availability
- 30 Days Returns/Exchange
- 12-Month Warranty
- Global Transportable
Spec
Voltage:115V/230V 50Hz/60Hz
Size:280x160x100mm
Weight: 1.7kg
KerrLab
Wiring procedure for using a 230VOLT Master Touch with foot controller
Parts Required
1.1x Male plug with a cover that will accept the electrical cords of the master touch power unit and the foot controller through a single wire hole
2.1x wire Nut to connect the two black wires together
Procedure:
1. Cut existing plugs from the power cords of the Master Power Unit and the Foot controller
2. Slide both cords through the plug cover and strip insulation from the wire ends
3. Connect the black wires from the Master Power Unit and the foot controller using the wire nut
4. Attach the green wires from the Master Power unit to the "Brass" terminal of the plug, and the white wire from the foot controller to the"Silver" terminal of the plug
5. Attach the green wires from the Master Power Unit, and the foot controller to the Ground terminal of the plug
6. Fold black wires into plug cover and attach plug cover to plug base Slide voltage switch to 230VOLT and change fuse to a 1/4 amp.
Insert assembled plug into a wall outlet and activate the Master Power Unit by using the rocker switch on the front panel, The switch will only light up when the foot controller is depressed indicating power is on and that the tip is heating. you can now turn your Master Power unit on and off with the foot controller freeing your hands for other more important tasks
Master installation and Operation
The Kerr master operates on either 115 v or 230v which can be selected from a switch on the back panel you must change the fuse when switching voltage use a 1/2 amp fuse at 115V and a 1/4 amp fuse at 230V. The unit will operate on 60 or 50 cycles, with no adjustment needed.to operate the unit on a 230V setting .it will be necessary to change the power plug or use an adapter plug Plug the Master Handpiece into the output connector on the front panel of the face of the power unit is used to turn the unit on the switch lights to indicate that power is on and that the tip is heating
Warning When the power light is on the heating tip may be hot enough to burn skin The master touch can be adjusted to provide a full range of heat temperatures with one easy control. the temperature control knob allows continuous selection of the desired temperature will also vary depending on which tip is used, Larger tips require a higher setting. see below chart for selecting the correct temperature for each wire gauge (tip size)
moving the knob setting by one number will change the tip temperature by about 100F/38c. as various waxes have different melting points, you will need to experiment to find the best setting with the tip you are using and the wax that you are working with. the optional foot control (item no 21870), allows you to bump the temperature up or down by switching the unit on or off until you have reached the desired effect settings 1 to 4 are suggested for tip sizes 22. 24 and 28 Settings 6 to 10 will provide maximum heat for the 20 gauge tip higher knob settings will give a higher temperature
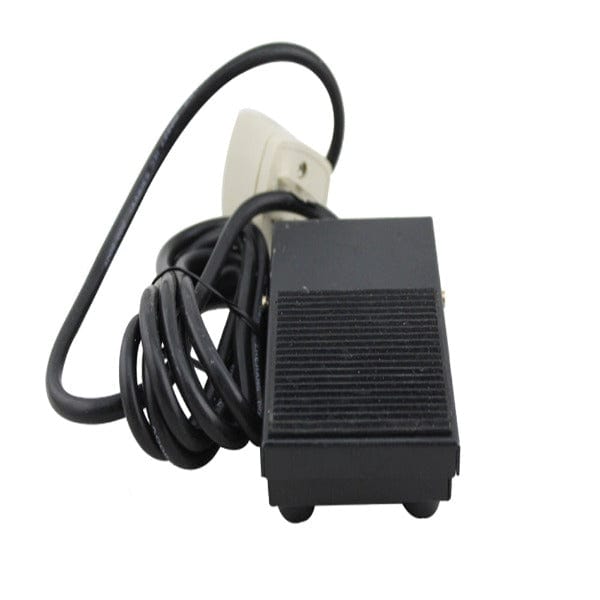
when using the optional foot control first plug the power unit into
the piggyback plug, and then into a wall outlet activate the unit with the power switch the switch will only light up when the foot control is depressed indicating power is on you can now regulate your hands for other more important and creative tasks Position the temperature control knob in the same manner as before. the foot control will deliver immediate heat to the tips, when released, the tips will cool rapidly. Readjustment may be necessary for the desired effect
Working precautions
1. Smoking may occur when working with certain waxes this indicates the tip is too hot
2. When inserting the, align the index line on the tip with a line to handle and push the tip straight until tip is seated
3. To remove grab tip at grooved area and pull straight out
4. While power is on, the tip will heat up regardless of the knob setting
5. To Prevent fire hazards never leave unit unattended while on do not operate around flammable liquids,explosive gasses of combustible materials